Variables
Variables can be described as "baskets" that hold valuable information. You can store various data like names, passwords, or account balances in these baskets for later use. You can flexibly create dynamic interactions by modifying the values within variables and detect how their values change.
Completely new to variables? Check out the examples on this page to get the most out of this powerful feature.
- Predefined variables — A set of variables that are always accessible in your prototypes. The values they store update automatically.
- Use cases — A selection of practical use cases involving variables.
Difference Between Variables & Formulas
Formulas and variables work together seamlessly to enhance your prototypes. Here's a quick breakdown of their relationship:
- Variables: Think of variables as handy "baskets" that hold values. They allow you to store and retrieve data, making it easier to reuse information throughout your prototype. Variables can be used independently or in conjunction with formulas. For example, you use formulas to retrieve a value stored in a variable.
- Formulas: Formulas are expressions that calculate and "return" a result. They are powerful tools for creating dynamic interactions. You can use formulas to perform calculations, manipulate text, and accomplish various tasks. Formulas can also include variables to access stored values.
The synergy between formulas and variables allows you to take your prototypes to the next level. Variables store values that can be utilized by formulas, while formulas can even be stored within variables to be reused across scenes.
In summary, formulas and variables complement each other, offering flexibility and efficiency in your prototype development process.
Learn more about formulas.
Choosing the Variable Scope
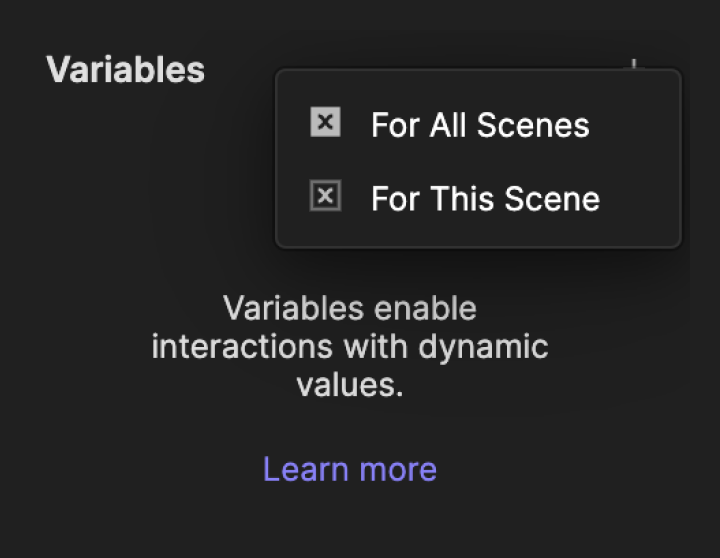
There are two types of variable you can choose from.
For All Scenes
A variable for all scenes can be accessed in every scene within your prototype. It's perfect for transferring data between scenes. For example, if you modify the value of a variable for all scenes in Scene A, the changes affect every instance where the variable is used across the prototype.
For This Scene
A variable for this scene is specific to the scene where you created it. It cannot be used in Scene B if it was created in Scene A. Also, this type of variable can hold formulas too.
Using Data Types
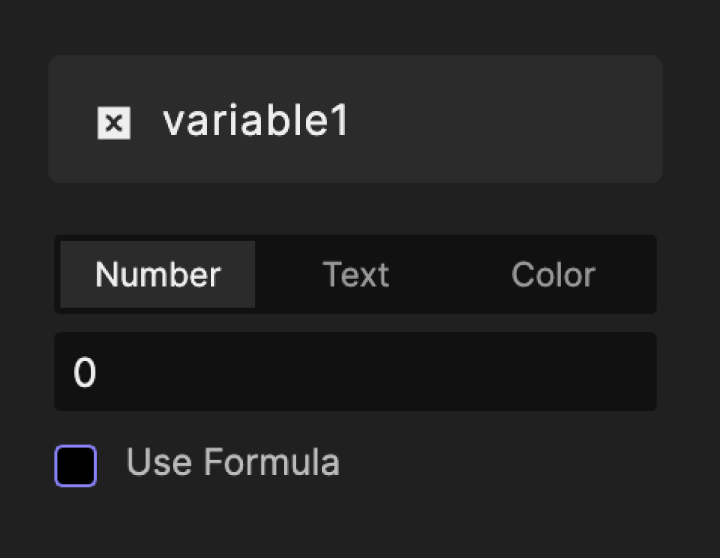
A variable can store three types of data: text, number, or color.
Text
Text variables are used to store text values. If you use a number as a value, the text variable will use it as a text.
Number
Number variables store numbers. They can’t hold data that aren’t numbers.
Color
Color variables store hex color code values. They can’t hold data that aren’t hex color codes.
Using Assign & Detect
Variables are typically manipulated with the Detect trigger and Assign response.
Assign Response
It’s used to assign new values to variables. It can be a text, number, or color data type. Additionally, such values can be inputted directly or dynamically generated through a formula.
Learn more about Assign.
Detect Trigger
It’s used to keep track of changes in a variable. It allows you to trigger responses based on whatever changes take place in a specific variable.
Learn more about Detect.
Displaying Variables
The values inside variables can be displayed on the canvas and in the preview window of ProtoPie Studio by using dedicated debuggers. You can enable them by clicking on the bug icon next to the variable name in the variable panel. This way, you can always check if the value stored by the variable is updating correctly.
![[object Object]](https://cdn.sanity.io/images/vidqzkll/docs/0ef28200d67addccc1ffc8b20176339967b9ef10-1580x864.png/displaying-variables.png)
Learning the Basics
Creating interactions with variables in ProtoPie is simpler than you think. This video shows you how you can quickly create a dynamic animation using variables.
Practicing with Examples
Making a Spinner
You can animate a simple spinner using variables. This example shows you how to increase or decrease the value of a variable by 1. The text layer will then display the value of the variable—every time it changes.
![[object Object]](https://cdn.sanity.io/images/vidqzkll/docs/a63e9c386ba78a75ee2a0bc208d467bf784de39d-1076x228.gif/formula_spinner.gif)
Making a Ripple Effect
Animate a quick ripple effect with predefined variables. This example shows you how to create a ripple effect based on where a touch event takes place.
Learn more about predefined variables.
![[object Object]](https://cdn.sanity.io/images/vidqzkll/docs/46b1d28959d926922b4bcb8d01550488d3e7b44c-1076x228.gif/formula_ripple.gif)
Looking for practical use cases? Learn more with some practical use cases involving variables.
Ready to take your skills to the next level? Join the ProtoPie Masterclass and unlock the power of variables in your prototypes. Learn how to create dynamic interactions using text, numbers, colors, and predefined variables.
By joining the ProtoPie Masterclass, you'll rapidly enhance your skills and effortlessly create advanced prototypes. Don't miss out on this opportunity to level up!

.png)