Touchscreen Prototyping in a Way You Haven’t Before
Understanding the touchscreen characteristics to free your interaction ideas.

Touchscreens revolutionized the technology industry since its first apparition and until today are widely use it in different fields. There are many types of touchscreens and all use different technologies.
In the old days, the resistive touchscreen was major for its low cost and durability, being used in GPS navigation devices and Nintendo DS family devices. The downside is the necessity to apply sufficient pressure by using anything rigid as a finger substitute for the touch to be sensed, as well as the poor screen contrast.
“Surface acoustic wave (SAW) technology uses ultrasonic waves that pass over the touchscreen panel. When the panel is touched, a portion of the wave is absorbed”. It can be usually found on large size applications such as kiosks, arcade games, automated cash dispensers, and so on.
Now let’s talk about the star of this article, the capacitive touchscreen. This touch screen panel is coated with a material that stores electrical charges, and it is typically used in most consumer products like tablets, laptops, and smartphones.
But how does the capacitive touchscreen work?, “As the human body is also an electrical conductor, touching the surface of the screen results in a distortion of the screen’s electrostatic field, measurable as a change in capacitance.”
But, the human body isn’t the only electrical conductor. Amazingly, various fruits and foods such as orange, apple, and even sausage are electrical conductors as well. In the following demo, you can observe how a prototype reacts to the touch of different fruits being placed directly on the smartphone touchscreen.
After making the Scale app, I started wondering, ‘Is there anything else we can make utilizing capacitive touchscreen’s characteristics?’ and was there when the idea came up to my mind to make a digital loupe.
First, I wanted to adjust the level of magnification somehow. Eventually, I came up with rotating using two fingers. But then, I started thinking of how to make a loupe having two touch points substituting of fingers.
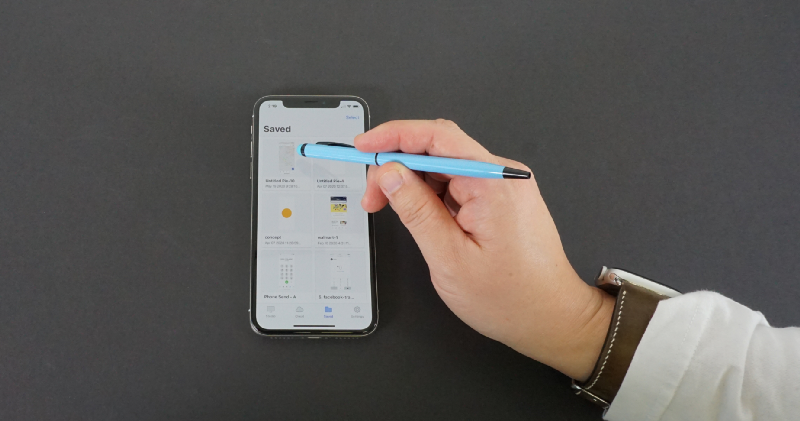
I tried it on the iPad Pro 12 inch, and it worked well so I decided to take it forward. I explored different ways to build the loupe device at first using two touch pens.
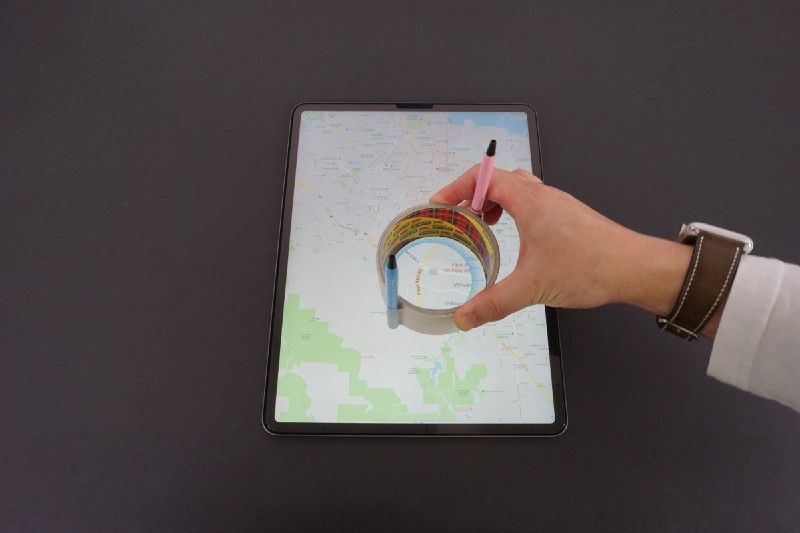
The next try was to make a ring and wrap it with aluminum cooking foil.
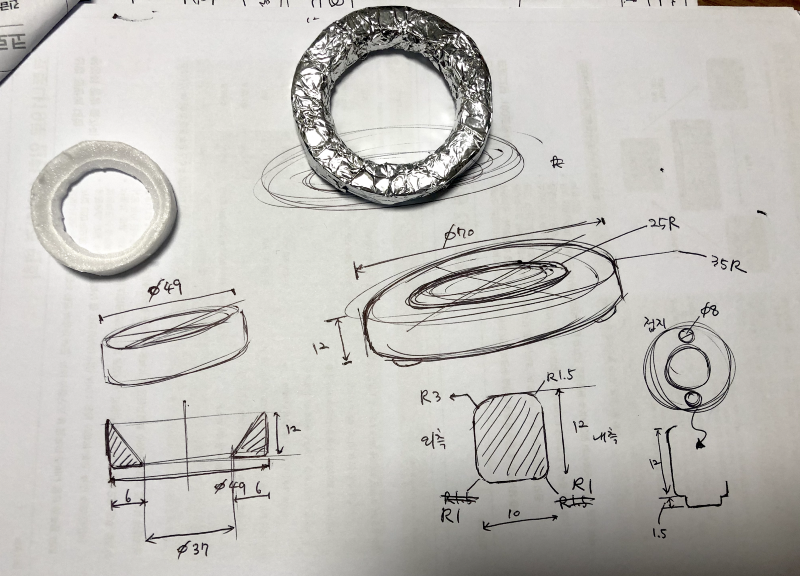
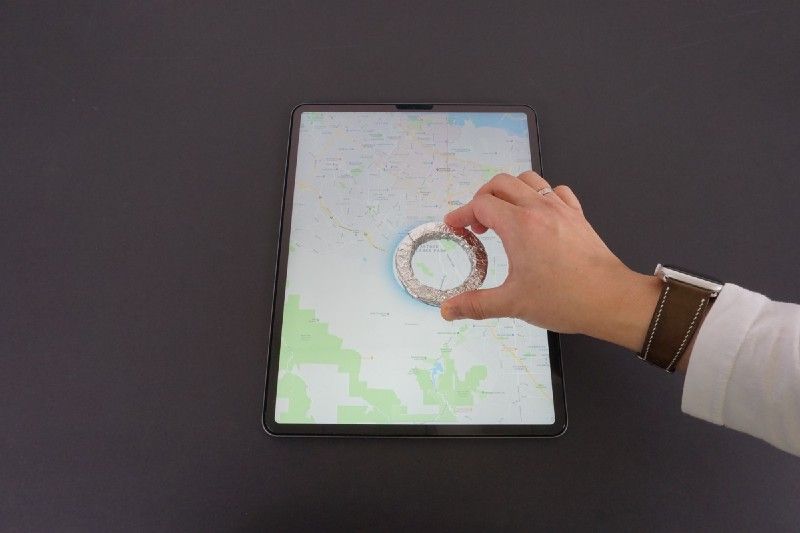
Finally, I built an aluminum foil wrapping device for testing, as it is cheap and can turn any material in a conductor by simply wrapping it. (Friendly advice, foil can scratch your touchscreen, so I recommend to put a screen protector on it before testing.)
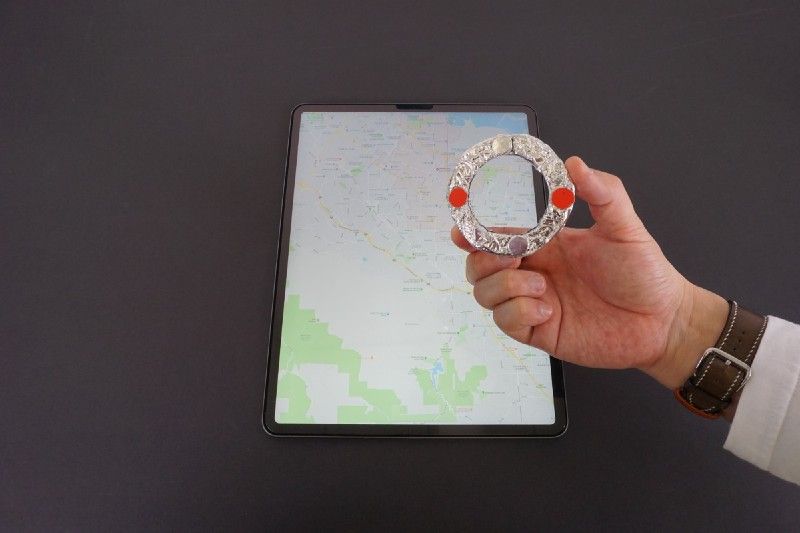
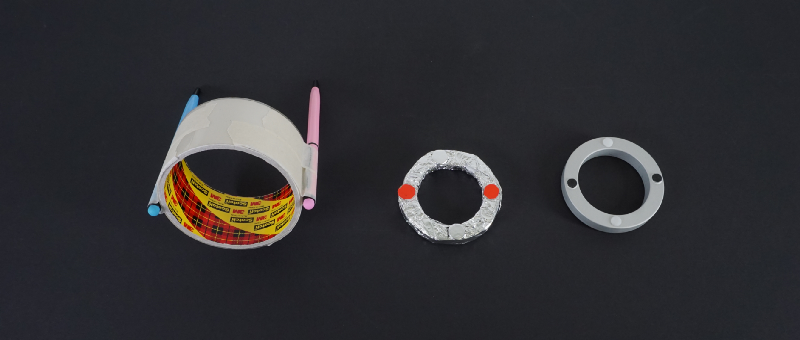
For just prototyping purposes, you can use the foil wrapping device. However, I wanted to make an even more polished solution. So, I shaped the loupe made of aluminum using a CNC machine. In order to secure more stable touchpoints, I painted black conductive paint on two tips. The white two points on the top and bottom of the device are supporters, which prevent it to shake while moving on the touchscreen.
You can try the prototype by yourself in the link.
One more thing,
With the above device, you can also try to make a more complicated and expensive device in a much easy and cheaper way.
Like this, I made a Knob on Display, which is a physical knob attached to the touchscreen (e.g., Knob control on the center display of Range Rover) by making a ring part (the black one) working as an axis attached to the touchscreen.
You also can try the prototype by yourself in the link.
