Beginner’s Guide to Microinteractions
Make your first realistic microinteractions with these 12 bite-sized videos.


This article was originally written by Graeme Fulton and Prilly for Prototypr.io.
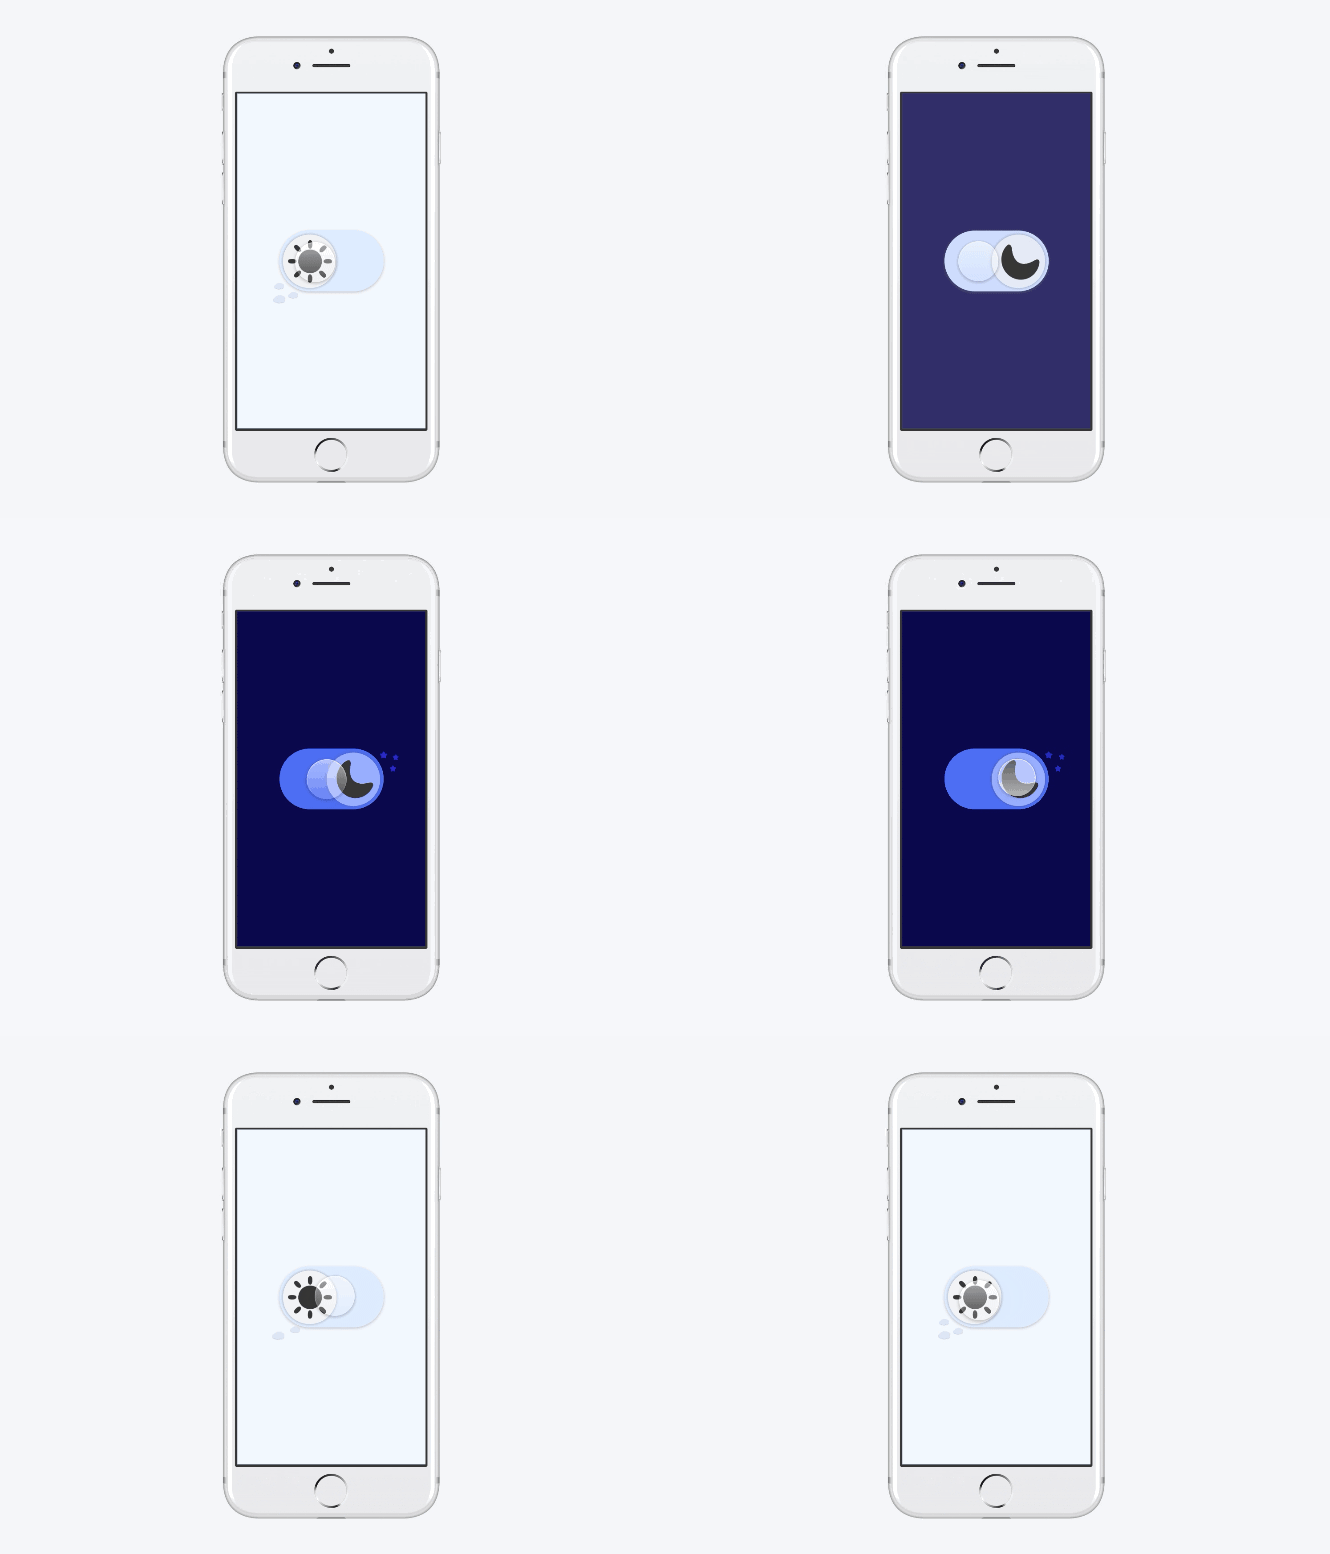
These 12 short videos will take you through the creation of a dark mode toggle switch using ProtoPie with a few of ProtoPie's basic features.
Download the Dark Mode Toggle prototype and try it out yourself.
.gif)
#1: Sun Toggle
The first step will just be to move the sun from left to right. This is our first interaction which will provide the "framework" for the rest of the events that will occur once the toggle is tapped.
#2: Rotating the Sun
In this part, we'll show you how to rotate the sun. This will be a microinteraction that adds some character to our interface.
#3: Scaling Shapes
Let's make use of the responses Scale and Opacity. One of the effects we want to give to our toggle interaction is the sun spinning into the moon, and vice versa. In order to do this, we will need to change the scale of the sun.
#4: Making the Sun Disappear & Reappear
Here, we'll show you how to make the sun disappear and reappear. We'll be using the Opacity responses with the two Conditions we already have.
#5: Rotating the Moon
Similar to what we did for the sun, we have to make the interactions for the moon. It's almost like swapping the responses that we have in the two Conditions.
#6: Scaling the Moon
In this step, we will make the moon scale as we did with the sun. This is the first time that you will see the moon at full scale!
#7: Scaling with Opacity
Before we move on to the other parts, we are going to change the opacity of the moon and complete the morphing illusions.
Moving onto our next part of making the toggle go from light to dark, and vice-versa, we will look at creating some color transactions. We’ll see how adding small details can add make our toggle a unique one.
#8: Color Transitions
Adding a color transition to our background provides the user with more feedback in the toggle. Since we have the sun turning into the moon, it only seems fitting that we see our background change from light to dark and the other way around as well.
#9: More Color Transitions
Since we added the background color transitions, it is only fitting that the stationary rectangle changes its color as well.
#10: Oval Color
To complete our color transitions, we are going to follow similar steps as done before.
Let's make this toggle button truly unique by giving its finishing touches.
#11: Spring Animations
Each cloud will be referred to by a number (i.e., cloud 1, cloud 2, and cloud 3). We will implement the same interactions for each cloud.
#12: Combining Spring Animations
To top it off, we will make the stars move! The interactions here are pretty similar to moving the clouds in the previous video.
Enjoyed these tutorial videos? Check out our very own ProtoPie School where you can access learning content on how to use ProtoPie from A to Z — all for free.
.jpg)
.png)
.png)